Many Kamailio modules require, or have additional functionality, when you’re using a database backend.
There’s a few options, but for this tutorial we’ll use a MySQL database backend.
To begin with we’ll install MySQL & Kamailio,
apt-get install kamailio* mysql-server
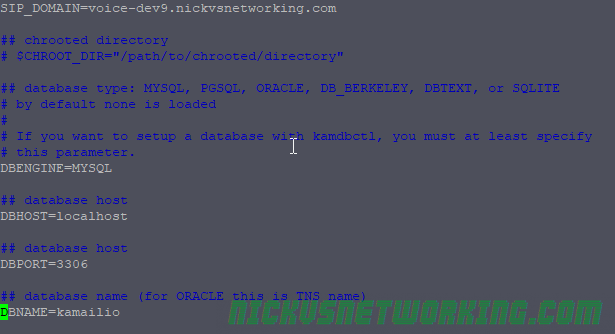
Next we’ll want to configure the file called kamctlrc in which we’ll add our database information so command line tools like kamcmd and kamctl can read and write from the database Kamailio is using.
vi /etc/kamailio/kamctlrc
We’ll need to set a few values, the SIP_DOMAIN, DBENGINE, DBHOST, DBNAME and DBPORT.

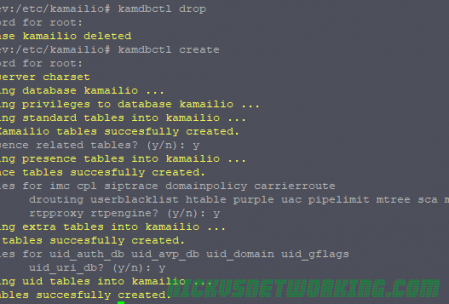
Next we’ll use the kamdbctl tool to create the database and tables required for Kamailio’s database driven modules.
kamdbctl create
Assuming you haven’t set a root password for MySQL you can just hit enter to leave it blank.

Next we’ll define a variable (AVP) in our Kamailio config file containing our database information. This means we only have to define it once and for each module we load we can just call this variable instead of defining our MySQL database information over and over again in the config.
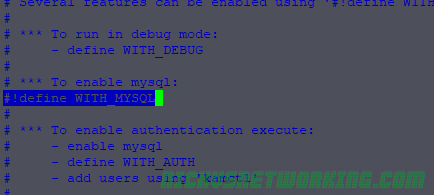
In the default config we’ll define WITH_MYSQL to use MySQL database config:
#!define WITH_MYSQL
That’ll automatically put the DBURL line into play:

And we’re done, now we can call different modules that have database functionality and start using it, some examples:
modparam("usrloc", "db_url", DBURL)
...
modparam("auth_db", "db_url", DBURL)
...
modparam("permissions", "db_url", DBURL)
Implementation varies from module to module but you’ll have created the database tables and should be good to go implementing modules with database functionality.

One thought on “Kamailio Bytes – MySQL Database Backend for Module Config”