This is part 3 of an n part tutorial series on working with SIM cards.
So in our last post we took a whirlwind tour of what an APDU does, is, and contains.
Interacting with a card involves sending the APDU data to the card as hex, which luckily isn’t as complicated as it seems.
While reading what the hex should look like on the screen is all well and good, actually interacting with cards is the name of the game, so that’s what we’ll be doing today, and we’ll start to abstract some of the complexity away.
Getting Started
To follow along you will need:
- A Smart Card reader – SIM card / Smart Card readers are baked into some laptops, some of those multi-card readers that read flash/SD/CF cards, or if you don’t have either of these, they can be found online very cheaply ($2-3 USD).
- A SIM card – No need to worry about ADM keys or anything fancy, one of those old SIM cards you kept in the draw because you didn’t know what to do with them is fine, or the SIM in our phone if you can find the pokey pin thing. We won’t go breaking anything, promise.
You may end up fiddling around with the plastic adapters to change the SIM form factor between regular smart card, SIM card (standard), micro and nano.
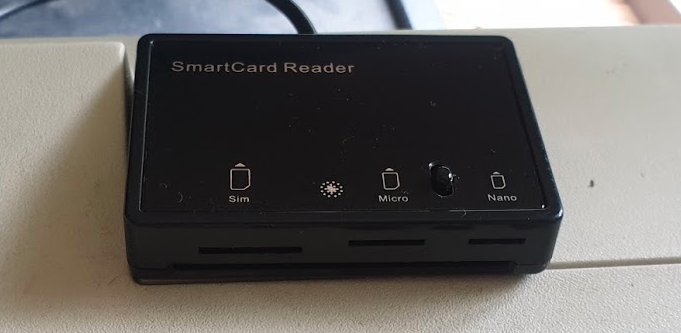
To keep it simple, we’re not going to concern ourselves too much with the physical layer side of things for interfacing with the card, so we’ll start with sending raw APDUs to the cards, and then we’ll use some handy libraries to make life easier.
PCSC Interface
To abstract away some complexity we’re going to use the industry-standard PCSC (PC – Smart Card) interface to communicate with our SIM card. Throughout this series we’ll be using a few Python libraries to interface with the Smart Cards, but under the hood all will be using PCSC to communicate.
pyscard
I’m going to use Python3 to interface with these cards, but keep in mind you can find similar smart card libraries in most common programming languages.
At this stage as we’re just interfacing with Smart Cards, our library won’t have anything SIM-specific (yet).
We’ll use pyscard to interface with the PCSC interface. pyscard supports Windows and Linux and you can install it using PIP with:
pip install pyscard
So let’s get started by getting pyscard to list the readers we have available on our system:
#!/usr/bin/env python3
from smartcard.System import *
print(readers())
Running this will output a list of the readers on the system:
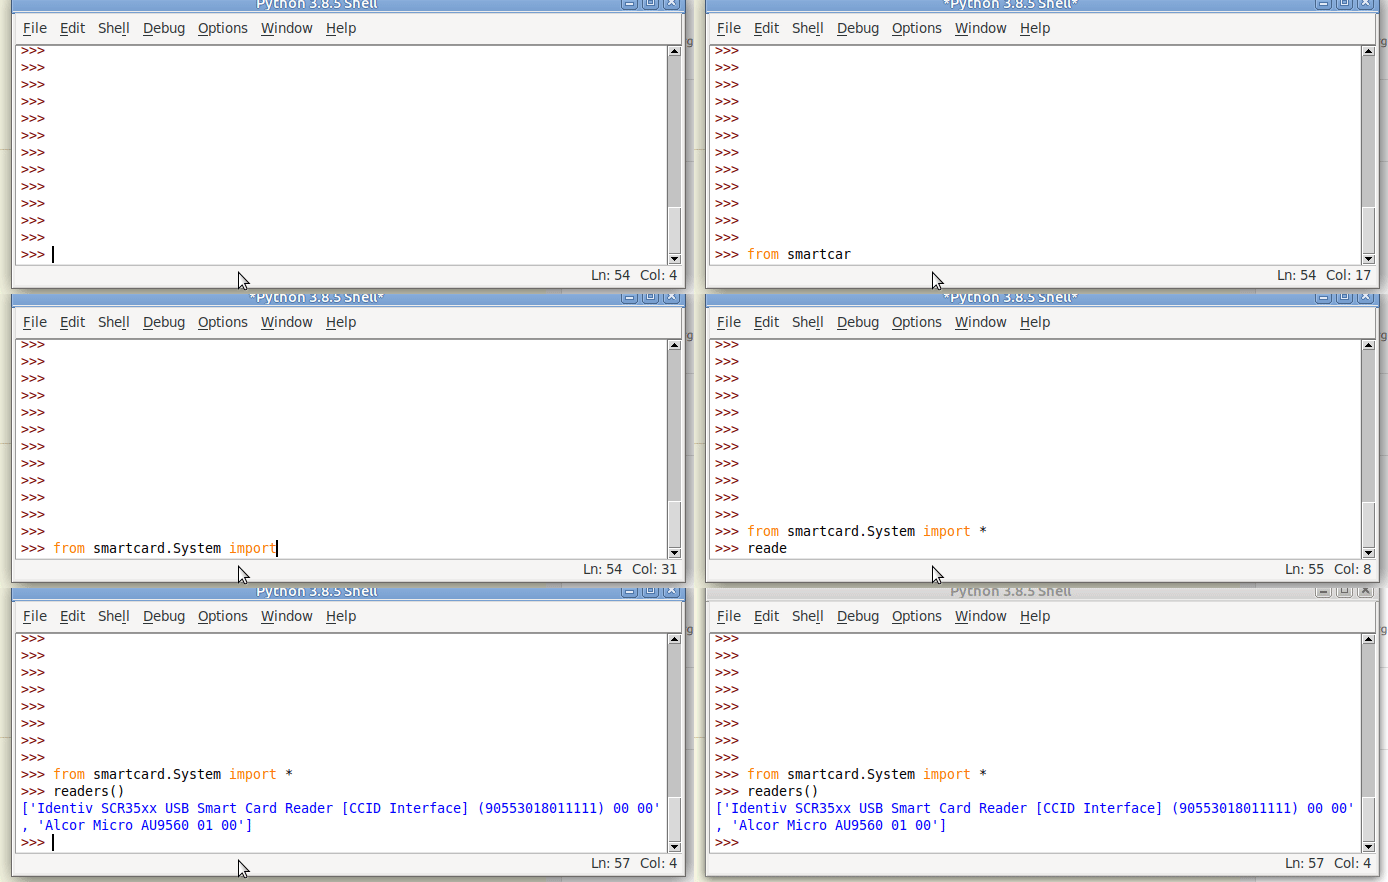
Here we can see the two readers that are present on my system (To add some confusion I have two readers connected – One built in Smart Card reader and one USB SIM reader):
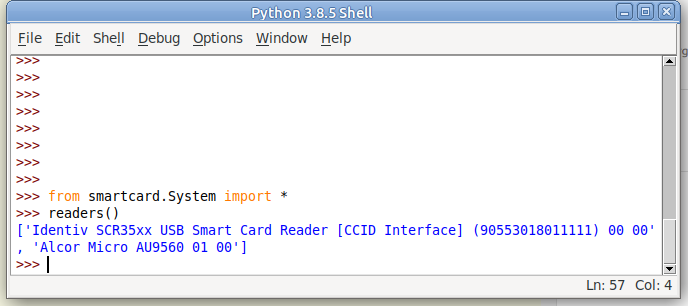
(If your device doesn’t show up in this list, double check it’s PCSC compatible, and you can see it in your OS.)
So we can see when we run readers() we’re returned a list of readers on the system.
I want to use my USB SIM reader (The one identified by Identiv SCR35xx USB Smart Card Reader CCID Interface 00 00), so the next step will be to start a connection with this reader, which is the first in the list.
So to make life a bit easier we’ll store the list of smart card readers and access the one we want from the list;
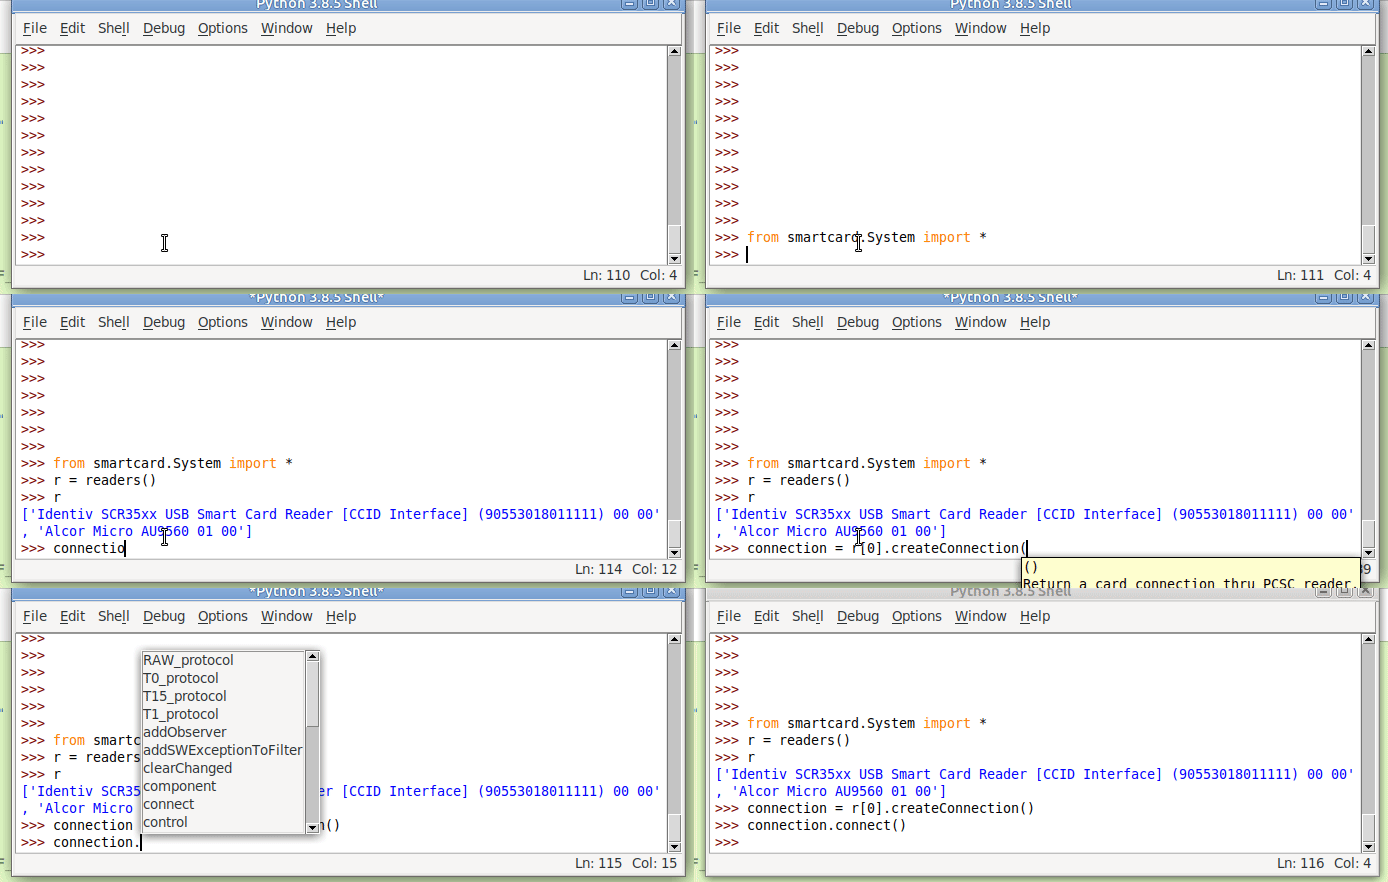
#!/usr/bin/env python3
from smartcard.System import *
r = readers()
connection = r[0].createConnection()
connection.connect()
So now we have an object for interfacing with our smart card reader, let’s try sending an APDU to it.
Actually Doing something Useful
Today we’ll select the EF that contains the ICCID of the card, and then we will read that file’s binary contents.
This means we’ll need to create two APDUs, one to SELECT the file, and the other to READ BINARY to get the file’s contents.
We’ll set the instruction byte to A4 to SELECT, and B0 to READ BINARY.

APDU to select EF ICCID
The APDU we’ll send will SELECT (using the INS byte value of A4 as per the above table) the file that contains the ICCID.
Each file on a smart card has been pre-created and in the case of SIM cards at least, is defined in a specification.
For this post we’ll be selecting the EF ICCID, which is defined in TS 102 221.
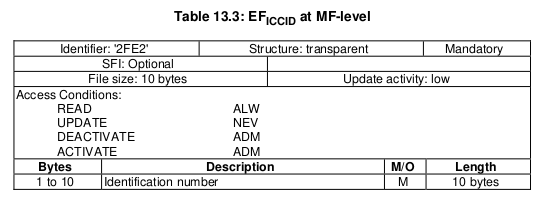
To select it we will need it’s identifier aka File ID (FID), for us the FID of the ICCID EF is 2FE2, so we’ll SELECT file 2FE2.
Going back to what we learned in the last post about structuring APDUs, let’s create the APDU to SELECT 2FE2.
| Code | Meaning | Value |
|---|---|---|
| CLA | Class bytes – Coding options | A0 (ISO 7816-4 coding) |
| INS | Instruction (Command) to be called | A4 (SELECT) |
| P1 | Parameter 1 – Selection Control (Limit search options) | 00 (Select by File ID) |
| P2 | Parameter 1 – More selection options | 04 (No data returned) |
| Lc | Length of Data | 02 (2 bytes of data to come) |
| Data | File ID of the file to Select | 2FE2 (File ID of ICCID EF) |
So that’s our APDU encoded, it’s final value will be A0 A4 00 04 02 2FE2
So let’s send that to the card, building on our code from before:
#!/usr/bin/env python3
from smartcard.System import *
from smartcard.util import *
r = readers()
connection = r[0].createConnection()
connection.connect()

print("Selecting ICCID File")
data, sw1, sw2 = connection.transmit(toBytes('00a40004022fe2'))
print("Returned data: " + str(data))
print("Returned Status Word 1: " + str(sw1))
print("Returned Status Word 2: " + str(sw2))
If we run this let’s have a look at the output we get,
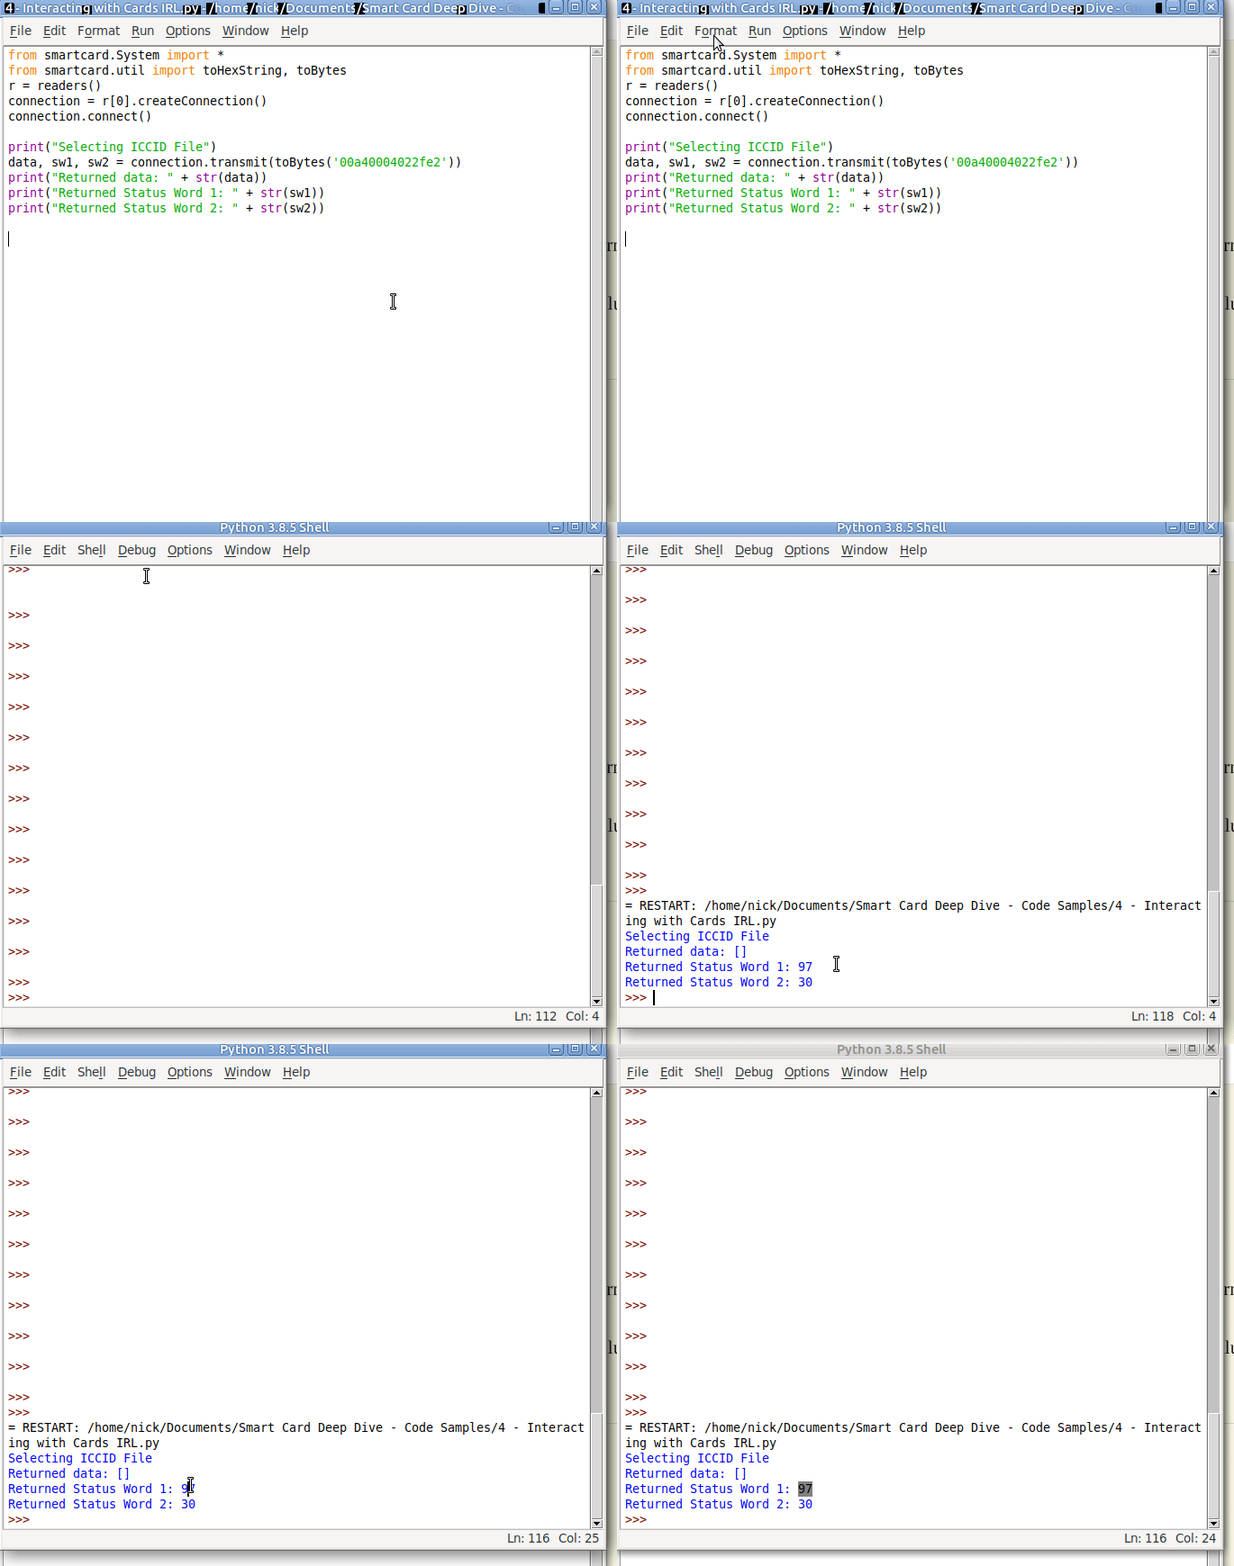
We got back:
Selecting ICCID File
 Returned data: []
 Returned Status Word 1: 97
 Returned Status Word 2: 33
So what does this all mean?
Well for starters no data has been returned, and we’ve got two status words returned, with a value of 97 and 33.
We can lookup what these status words mean, but there’s a bit of a catch, the values we’re seeing are the integer format, and typically we work in Hex, so let’s change the code to render these values as Hex:
#!/usr/bin/env python3
from smartcard.System import *
from smartcard.util import *
r = readers()
connection = r[0].createConnection()
connection.connect()

print("Selecting ICCID File")
data, sw1, sw2 = connection.transmit(toBytes('00a40004022fe2'))
print("Returned data: " + str(data))
print("Returned Status Word 1: " + str(hex(sw1)))
print("Returned Status Word 2: " + str(hex(sw2)))
Now we’ll get this as the output:
Selecting ICCID File
Returned data: []
Returned Status Word 1: 0x61
Returned Status Word 2: 0x1e
So what does this all mean?
Well, there’s this handy website with a table to help work this out, but in short we can see that Status Word 1 has a value of 61, which we can see means the command was successfully executed.
Status Word 2 contains a value of 1e which tells us that there are 30 bytes of extra data available with additional info about the file. (We’ll cover this in a later post).

So now we’ve successfully selected the ICCID file.
Keeping in mind with smart cards we have to select a file before we can read it, so now let’s read the binary contents of the file we selected;
The READ BINARY command is used to read the binary contents of a selected file, and as we’ve already selected the file 2FE2 that contains our ICCID, if we run it, it should return our ICCID.
If we consult the table of values for the INS (Instruction) byte we can see that the READ BINARY instruction byte value is B0, and so let’s refer to the spec to find out how we should format a READ BINARY instruction:

| Code | Meaning | Value |
|---|---|---|
| CLA | Class bytes – Coding options | A0 (ISO 7816-4 coding) |
| INS | Instruction (Command) to be called | B0 (READ BINARY) |
| P1 | Parameter 1 – Coding / Offset | 00 (No Offset) |
| P2 | Parameter 2 – Offset Low | 00 |
| Le | How many bytes to read | 0A (10 bytes of data to come) |
We know the ICCID file is 10 bytes from the specification, so the length of the data to return will be 0A (10 bytes).
Let’s add this new APDU into our code and print the output:
#!/usr/bin/env python3
from smartcard.System import *
from smartcard.util import *
r = readers()
connection = r[0].createConnection()
connection.connect()

print("Selecting ICCID File")
data, sw1, sw2 = connection.transmit(toBytes('00a40000022fe2'))
print("Returned data: " + str(data))
print("Returned Status Word 1: " + str(hex(sw1)))
print("Returned Status Word 2: " + str(hex(sw2)))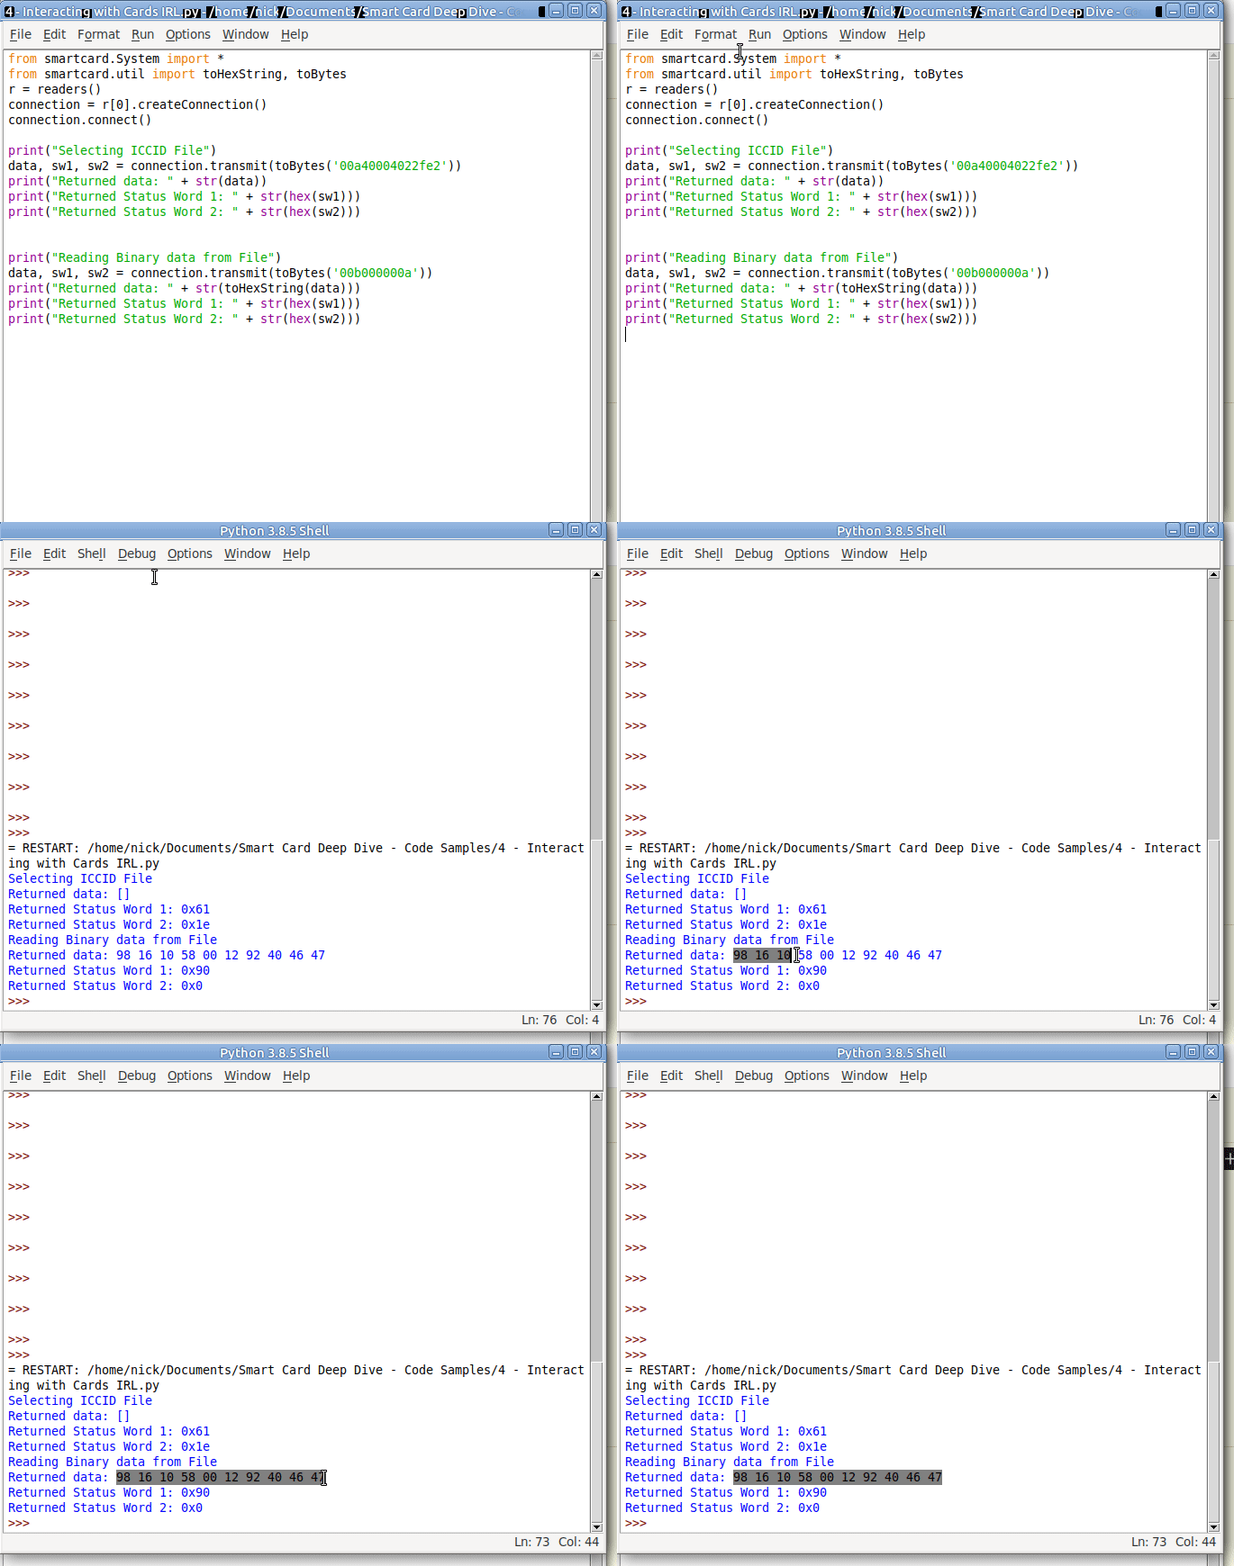
And we have read the ICCID of the card.
Phew.
That’s the hardest thing we’ll need to do over.
From now on we’ll be building the concepts we covered here to build other APDUs to get our cards to do useful things. Now you’ve got the basics of how to structure an APDU down, the rest is just changing values here and there to get what you want.
In our next post we’ll read a few more files, write some files and delve a bit deeper into exactly what it is we are doing.
Want more?
You can also get the weekly posts on the blog by Connecting on LinkedIn, following me on Twitter, or Subscribing via RSS.