This post is one in a series documenting my adventures attempting to configure a used BTS 3900 to function as a eNB in my lab.
There are 5 network ports on the LMPT card:
- 2x SFP cages – SFP 0 and SFP 1
- 1x 10/100 Ethernet port – ETH – Used to access the Local Maintenance terminal
- 2x Fe/Ge ports – Fe/Ge0 and Fe/Ge1
Configuring the Ethernet Ports
What took me a little while to realise is that SFP0 and Fe/Ge0 are paired, they’re really only one interface. This means you can only use one at a time – you can’t use SFP0 and Fe/Ge0 simultaneously- Same with SFP1 and Fe/Ge1.
Before we get started we’ll list the current interfaces:
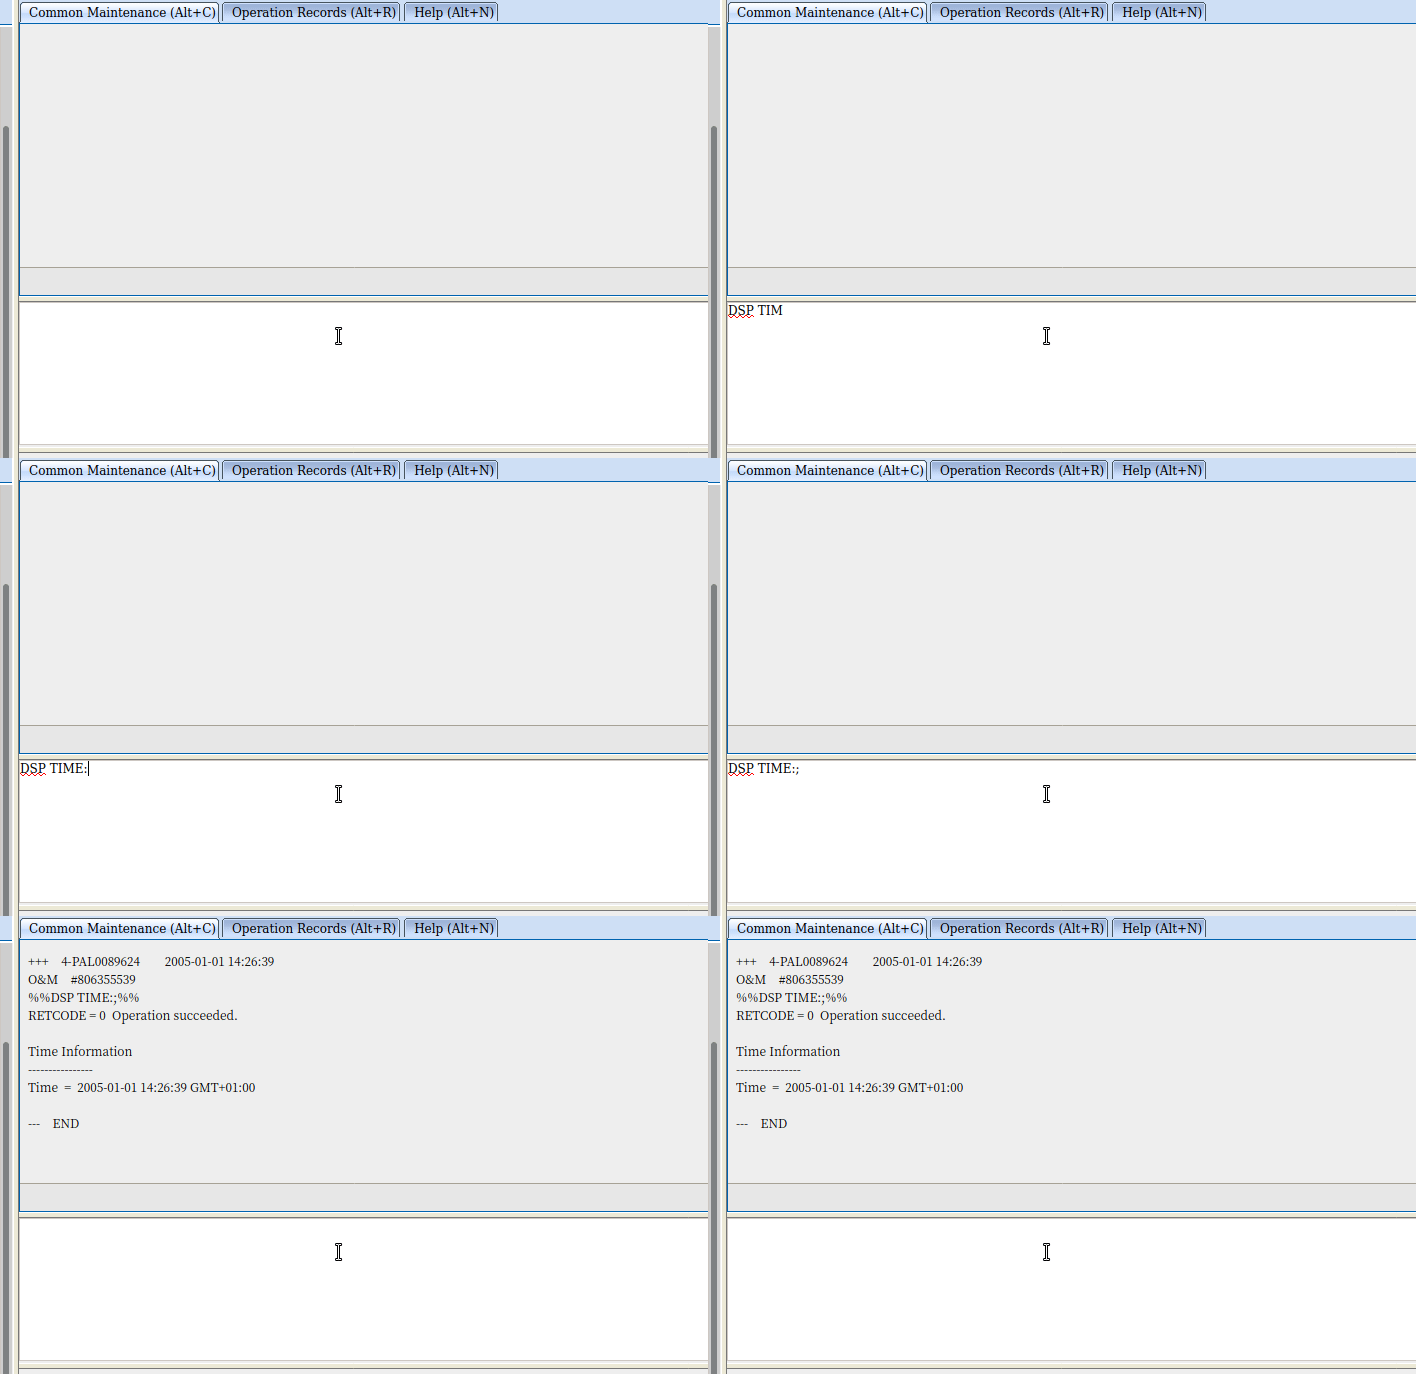
DSP ETHPORT:;
Assuming the interfaces aren’t there, we’ll need to add the interfaces, in my case the LMPT card is in Chassis 1, Slot number 7.
ADD ETHPORT: SRN=1, SN=7, SBT=BASE_BOARD, PN=0, PA=AUTO, SPEED=AUTO, DUPLEX=AUTO, USERLABEL="SFP_Fe_Ge_0";
ADD ETHPORT: SRN=1, SN=7, SBT=BASE_BOARD, PN=1, PA=AUTO, SPEED=AUTO, DUPLEX=AUTO, USERLABEL="SFP_Fe_Ge_1";
And then we’ve got to add an IP to one of the interfaces, in the below example I’ve added 10.0.1.210/24 to port 0 (which can be either SFP0 or Fe/Ge0).
ADD DEVIP: SRN=1, SN=7, SBT=BASE_BOARD, PT=ETH, PN=0, IP="10.0.1.210", MASK="255.255.255.0", USERLABEL="SFP_Fe/Ge_0";
At this point I plugged into the Fe/Ge0 port into my switch, and from my laptop on the same 10.0.1.0/24 subnet, I was able to ping the eNodeB.
And now we can check the status of the port:
DSP ETHPORT: SRN=1, SN=7, SBT=BASE_BOARD, PN=0;
+++    4-PAL0089624        2020-11-28 00:19:13
O&M    #806355532
%%DSP ETHPORT: SRN=1, SN=7, SBT=BASE_BOARD;%%
RETCODE = 0  Operation succeeded.

DSP ETHPORT Result
------------------
                           Cabinet No.  =  0
                           Subrack No.  =  1
                              Slot No.  =  7
                         Subboard Type  =  Base Board
                              Port No.  =  0
                        Port Attribute  =  Copper
                           Port Status  =  Up
                 Physical Layer Status  =  Up
       Maximum Transmission Unit(byte)  =  1500
                             ARP Proxy  =  Enable
                          Flow Control  =  Open
                           MAC Address  =  DCD2-07FC-A9E8
                       Loopback Status  =  No Loop
               In Loopback Mode or Not  =  No
                 Ethernet OAM 3AH Flag  =  Disable
          Number of RX Packets(packet)  =  1682
              Number of RX Bytes(byte)  =  163929
Number of RX CRC Error Packets(packet)  =  2
                    RX Traffic(byte/s)  =  259
          Number of TX Packets(packet)  =  53
              Number of TX Bytes(byte)  =  13952
                    TX Traffic(byte/s)  =  0
  Local Configuration Negotiation Mode  =  Automatic Negotiation
         Local Actual Negotiation Mode  =  Automatic Negotiation
                           Local Speed  =  100M
                          Local Duplex  =  Full Duplex
          Peer Actual Negotiation Mode  =  Automatic Negotiation
                            Peer Speed  =  100M
                           Peer Duplex  =  Full Duplex
                         Number of IPs  =  1
                       IP Address List  =  10.0.1.210 255.255.255.0
(Number of results = 1)


---    END
On with the rest of the config,
Adding a default route:
ADD IPRT: RTIDX=0, SRN=1, SN=7, SBT=BASE_BOARD, DSTIP="0.0.0.0", DSTMASK="0.0.0.0", RTTYPE=NEXTHOP, NEXTHOP="10.0.1.1", MTUSWITCH=OFF, DESCRI="Default Route";
Setting a DNS Server:
ADD DNSSRV: DNSSRVID=0, IPVER=IPv4, DNSCIP4="10.0.1.210", DNSSIP4="1.1.1.1";
Ensure you can ping the DNS server & in my case the MME:
PING: SRN=1, SN=7, SRCIP="10.0.1.210", DSTIP="1.1.1.1", CONTPING=DISABLE, APPTIF=NO;
PING: SRN=1, SN=7, SRCIP="10.0.1.210", DSTIP="10.0.1.183", CONTPING=DISABLE, APPTIF=NO;
And with that, you’ve got the network side of the config done on the eNodeB.
At this stage you’re able to unplug from the ETH port you’ve got the WebLMT connection to, and just connect to it like any other network device.
There’s a few more steps before we bring cells on the air, we’ve got to set timing sources, configure a connection to an MME and S-GW, configure the Carrier settings and add the radios and sectors, but this will get you to the stage where you no longer need to plug directly into the eNB to configure it.


